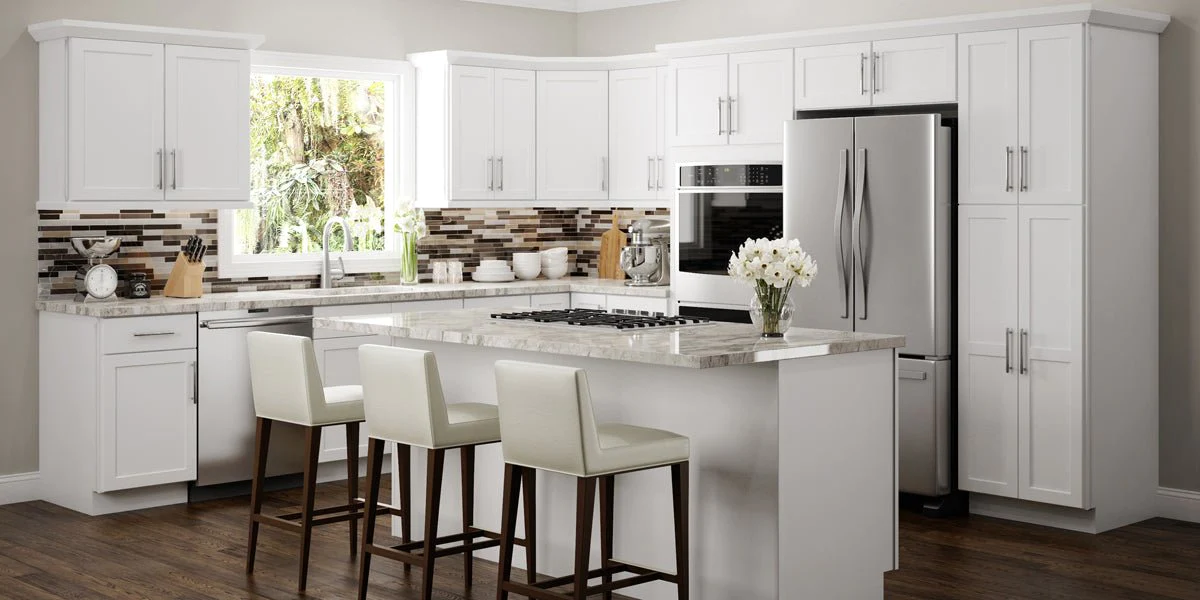
Can my existing kitchen cabinets be painted?
Yes, it is possible to paint existing kitchen cabinets. Painting your kitchen cabinets can be a cost-effective way to update the look of your kitchen without having to replace your cabinets altogether. However, it’s important to properly prepare the cabinets by cleaning, sanding, and priming them before painting to ensure the paint adheres properly and lasts for a long time. It’s also important to use high-quality paint and a proper technique to achieve a smooth, professional-looking finish.
If you’re not experienced with painting, you may want to consider hiring a Sarah Harris Designs to paint your existing kitchen cabinets to ensure the best results. Sarah Harris Designs uses only professional grade paints and uses industry standard spraying equipment to paint your kitchen cabinet doors to provide a long-lasting, durable finish. Contact us today to set up a no obligation estimate to have your kitchen cabinets painted.
If you feel brave enough to take on the task of painting your kitchen cabinets, here’s a general outline of the steps involved:
- Preparation:
- Remove all items from the cabinets and clear the countertops.
- Label or organize cabinet doors and hardware if you plan to reattach them in the same locations.
- Clean the cabinets thoroughly to remove grease, grime, and dirt. A mixture of warm water and mild detergent works well for this.
- If the cabinets have a glossy finish, lightly sand them to roughen the surface and help the paint adhere better.
- Protect countertops, appliances, and floors with drop cloths or newspaper.
- Remove Hardware:
- Take off all knobs, handles, hinges, and any other hardware attached to the cabinets. Place them in labeled bags or containers to keep track of them.
- Repair and Patch:
- Inspect the cabinets for any damage or imperfections such as cracks, dents, or holes.
- Fill in any holes or cracks with wood filler or spackle, and sand the area smooth once it’s dry.
- Prime:
- Apply a coat of primer to the cabinets. Choose a high-quality primer suitable for the type of surface you’re painting (wood, laminate, etc.).
- Use a brush or roller to apply the primer evenly, making sure to cover all surfaces.
- Allow the primer to dry completely according to the manufacturer’s instructions.
- Sand:
- Lightly sand the primed cabinets with fine-grit sandpaper to smooth out any brush marks or imperfections.
- Wipe away any dust with a tack cloth or damp cloth.
- Paint:
- Apply the paint to the cabinets using a brush, roller, or sprayer. Use a high-quality paint designed for cabinets and kitchens for durability.
- Start with the inner edges and recessed areas, then move on to the flat surfaces.
- Apply thin, even coats of paint, allowing each coat to dry completely before applying the next one.
- Depending on the desired finish and coverage, you may need multiple coats of paint.
- Let the cabinets dry thoroughly between coats.
- Reattach Hardware:
- Once the final coat of paint is dry, reattach the hardware to the cabinets using the labels or organization system you created earlier.
- Cure and Reassemble:
- Allow the painted cabinets to cure fully according to the paint manufacturer’s recommendations before reassembling them and putting items back inside.
- Be gentle with the cabinets for the first few weeks as the paint fully cures and hardens to ensure a durable finish.
Contact us today to set up a no obligation estimate to have Sarah Harris Designs paint your kitchen cabinets.


